illustration
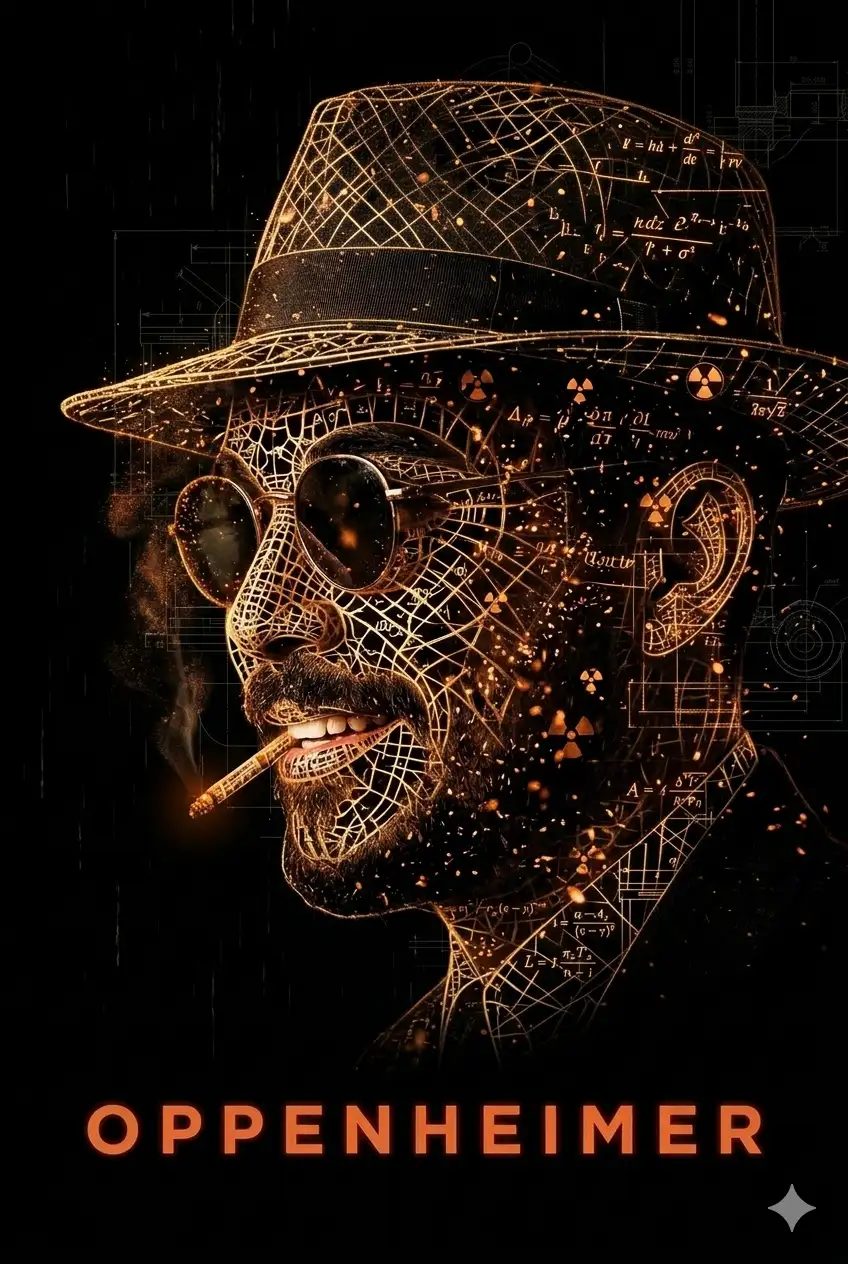
Oppenheimer — minimalist movie poster, constructed from symbols/particles) A minimalist movie poster for Oppenheimer.
Use the reference image (Oppenheimer — minimalist movie poster, constructed from symbols/particles) A minimalist movie poster for Oppenheimer. The central focus is a dramatic side-profile close-up of reference image as Oppenheimer wearing his iconic dark fedora and round sunglasses, with a faint cigarette glow near the lips. His entire face and hat are meticulously constructed from cascading atomic elements—glowing orange/amber embers, drifting smoke-like particles, and scattered physics equations / radiation symbols / blueprint lines that vary in brightness to define sharp facial contours and the glasses silhouette. Background: void-like deep black, with subtle heat haze and a thin vertical “falling ash” effect (like nuclear dust) that replaces the Matrix-style digital rain, clean and controlled. Typography: at the bottom, the title “OPPENHEIMER” in a bold, condensed, modern cinematic typeface, colored burnt orange with soft glow, perfectly centered, high-end editorial spacing, premium poster grid. Mood: ominous, restrained, catastrophic tension. Cinematic lighting, high contrast, razor-sharp particle detail, high-resolution graphic design, professional theatrical one-sheet layout, print-ready. Negative Prompt (realistic skin texture, photorealistic portrait, colorful neon palette, blue/purple cyberpunk, 3D render, photograph, messy composition, blurry, low resolution, noisy artifacts, white background, multiple people, extra faces, distorted sunglasses, bad hands, incorrect hat shape, cluttered background, ugly typography, misspelled title, random logos, watermark, cheap poster layout, over-saturated reds, cartoon, anime)
View Prompt
Meta glasses,Technical infographic and product teardown
{ "image_generation_prompt": { "subject": "Meta glasses", "theme": "Technical infographic and product teardown", "perspective": "45-degree isometric 3D perspective, slightly tilted", "background": "Pure white", "style_fusion": [ "Realistic photoreal render", "Black ink technical annotations (technical pen/architectural)", "Educational museum-exhibit vibe" ], "key_elements": [ "Title 'OBJECT' in top-left hand-drawn technical box", "Transparent/cutaway sections showing internal architecture", "Measurements, dimensions, and precise scale markers", "Material callouts and quantities", "Simple schematics and cross-sectional diagrams" ], "color_coding_arrows": { "RED": "Power/Battery flow", "BLUE": "Data/Connectivity flow", "ORANGE": "Thermal/Processor dynamics", "GREEN": "Sensors/Haptics signals" }, "color_palette": { "dominant": "Black linework and realistic grayscale", "accent_density": "10-15% vibrant color accents", "background": "White" }, "output_specs": { "resolution": "Ultra-crisp, 1080px width", "aspect_ratio": "9:13", "optimization": "Social-feed ready" } } }
View Prompt![technical infographic of [HARD DISk] with a 45-degree isometric 3D perspective showing the device slightly tilted to reveal depth and dimension](/storage/prompts/lq8zAU3XytT9yKuSdOmFvCrw0fe4o8eWLFPcHVfn.webp)
technical infographic of [HARD DISk] with a 45-degree isometric 3D perspective showing the device slightly tilted to reveal depth and dimension
Create a technical infographic of [HARD DISk] with a 45-degree isometric 3D perspective showing the device slightly tilted to reveal depth and dimension. Combine a realistic photoreal render with black ink technical annotations on pure white background. Include: Key component labels with color-coded callout boxes Internal component visibility through transparent/cutaway sections Measurements, dimensions, and precise scale markers Material callouts and quantities Color-coded arrows for function/flow: RED (power/battery), BLUE (data/connectivity), ORANGE (thermal/processor), GREEN (sensors/haptics) Simple schematics or cross-sectional diagrams where relevant Place “HARD DISk” title in a hand-drawn technical box (top-left corner). Style: Black linework (technical pen/architectural), sketched but precise. Object remains clearly visible. Educational museum-exhibit vibe. Clean composition, balanced negative space. Perspective: Isometric 3D angle—tilted to show depth, dimension, and internal architecture dramatically. Like a professional product teardown or engineering manual. Colors: ~10-15% accent density. Black dominant. White background. aspect ratio 6:9, ultra-crisp, social-feed optimized.
View Prompt
3D isometric paper-cut diorama inside a vintage wooden box
Create a hyper-detailed 3D isometric paper-cut diorama inside a vintage wooden box. Subject: {famous author} (e.g., Jules Verne, Hemingway, Tolkien). Visuals: The portrait of the author is formed by layered silhouettes of paper mountains, waves, and trees relevant to their books. Semantic Text: Instead of texture, the edges of the paper layers are cut into microscopic sentences and quotes from their most famous novels. Lighting: Warm, amber backlighting creating dramatic deep shadows and distinct separation between the paper layers. Effect: Macro photography, depth of field, tactile paper texture.
View Prompt
schematic where physical miniature components float in precise geometric arrangement above an architectural blueprint surface.
Do this for F1 car: A technical illustration brought to life: an exploded-view schematic where physical miniature components float in precise geometric arrangement above an architectural blueprint surface. Base:: Large format engineering drawing (36" x 24" implied) Aged blue or sepia blueprint paper with white/cream lines Complete orthographic projections: top, side, front views Dimension lines, measurements, tolerances marked Title block with: [INVENTION NAME], [INVENTOR], Patent No., Date Scale notation and drawing standards Coffee cup rings and rolled edges showing use Exploded components (hovering in space): 15-30 individual parts suspended by invisible wire Organized vertically by assembly order (bottom to top) Each component precisely positioned along central axis Spacing proportional to assembly sequence Parts numbered with leader lines to blueprint key Component details: Machined metal parts showing tool marks Fasteners: bolts, nuts, washers, rivets at correct positions Gaskets and seals in appropriate materials Springs, bearings, bushings with realistic finish Largest components at bottom, smallest at top Material finishes: polished steel, cast iron, brass, aluminum INVENTOR FIGURINE PLACEMENT: 1:12 scale figure standing beside blueprint at drafting table Holding dividers or technical pen Looking up at floating assembly Period-appropriate engineer's attire (vest, rolled sleeves, visor) Additional tools on table: T-square, compass, protractor ANNOTATION SYSTEM: Numbered callouts (001-030+) matching blueprint key Dotted leader lines connecting parts to blueprint Transparent acrylic tags floating near components Material specifications etched on tags Assembly direction arrows showing insertion paths SUPPORT ELEMENTS: Miniature machinist tools: calipers, micrometers, gauges Material samples: metal stock, fastener boxes Manufacturing process cards Quality control inspection stamps Engineering change orders showing revisions CROSS-SECTION DETAIL INSETS: Small magnified views showing critical interfaces Thread details on fasteners Bearing race tolerances Surface finish requirements Welded or brazed joint details HISTORICAL CONTEXT: Patent certificate in ornate frame (background) Workshop photograph showing actual manufacturing Company letterhead and correspondence Technical journal article featuring invention Awards or recognition certificates LIGHTING STRATEGY: Bright even illumination on blueprint (lightbox effect) Directional spotlights on each floating component Subtle shadows cast onto blueprint surface Rim lighting on metal edges creating separation No harsh shadows - technical illustration quality MATERIAL REPRESENTATION: Visible grain in cast components Polished surfaces reflecting light Oxidized or weathered finishes where appropriate Material texture variation: rough castings vs. machined surfaces Authentic period manufacturing techniques evident SPATIAL ORGANIZATION: Perfect axial alignment of all components Consistent spacing between adjacent parts Rotational orientation showing key features Subassemblies grouped with slight clustering Total assembly height 24-30" above blueprint PERSPECTIVE: Isometric or slightly angled axonometric view maintaining technical accuracy COMPOSITION: Central vertical axis with components stacked, inventor at lower left corner ASPECT RATIO: 3:4 (vertical) to accommodate component stack STYLE: Technical illustration photography, Haynes Manual aesthetic, Engineering Graphics Standards
View Prompt
infographic of the US Dollar banknote, treated as an engineered object.
Create a high-impact technical infographic of the US Dollar banknote, treated as an engineered object. Use a photorealistic, ultra-detailed US dollar bill as the base image, placed on a pure white studio background. Overlay black ink, hand-drawn technical annotations directly on top of the bill, including: – Exact measurements, proportions, and scale markers – Security feature callouts (microprinting, security thread, ink layers) – Material and paper composition notes – Exploded or cutaway-style outlines showing internal layers – Arrows indicating printing process, security mechanisms, and visual flow – Schematic-style diagrams of anti-counterfeit elements – Symbol and seal annotations (eye, pyramid, serial numbers) drawn in a technical, analytical way Style: – Architectural / engineering sketch aesthetic – Black technical pen linework only – Precise but slightly hand-drawn – Clean, minimal, museum-exhibit vibe Composition rules: – The real dollar bill remains clearly visible beneath annotations – Annotations are large and readable on mobile screens – Balanced negative space, no clutter Place the title “US Dollar” inside a hand-drawn technical annotation box in one corner. Color palette: Black and white only. No color. Output: 1080×1080, ultra-crisp, high contrast, no watermark, social-feed optimized.
View Prompt![infographic image of [Eye], combining a realistic photograph or photoreal render of the object with technical](/storage/prompts/pYOq1jxdQjPBRm0S2IXR7m36sV4MIdeqTNBBzdNS.webp)
infographic image of [Eye], combining a realistic photograph or photoreal render of the object with technical
Create an infographic image of [BODY PART], combining a realistic photograph or photoreal render of the object with technical annotation overlays placed directly on top. Use black ink–style line drawings and text (technical pen / architectural sketch look) on a pure white studio background, including: •Key component labels •Internal cutaway or exploded-view outlines •Measurements, dimensions, and scale markers •Material callouts and quantities •Arrows indicating function, force, or flow (air, sound, power, pressure) •Simple schematic or sectional diagrams where relevant Place the title [BODY PART] inside a hand-drawn technical annotation box in one corner. Style & layout rules: •The real object remains clearly visible beneath the annotations •Annotations feel sketched, technical, and architectural •Clean composition with balanced negative space •Educational, museum-exhibit / engineering-manual vibe Visual style: Minimal technical illustration aesthetic, black linework over realistic imagery, precise but slightly hand-drawn feel. Color palette: White background, black annotation lines and text only. No colors. Output: 1080×1080, ultra-crisp, social-feed optimized, no watermark.
View Prompt
infographic image of Kaaba, combining a realistic photograph
Create an infographic image of [Kaaba], combining a realistic photograph or photoreal render of the object with technical annotation overlays placed directly on top. Use black ink–style line drawings and text (technical pen / architectural sketch look) on a pure white studio background, including: •Key component labels •Internal cutaway or exploded-view outlines •Measurements, dimensions, and scale markers •Material callouts and quantities •Arrows indicating function, force, or flow (air, sound, power, pressure) •Simple schematic or sectional diagrams where relevant Place the title [Kaaba] inside a hand-drawn technical annotation box in one corner. Style & layout rules: •The real object remains clearly visible beneath the annotations •Annotations feel sketched, technical, and architectural •Clean composition with balanced negative space •Educational, museum-exhibit / engineering-manual vibe Visual style: Minimal technical illustration aesthetic, black linework over realistic imagery, precise but slightly hand-drawn feel. Color palette: White background, black annotation lines and text only. No colors. Output: 1080×1080, ultra-crisp, social-feed optimized, no watermark.”
View Prompt
specification designed to generate a photorealistic 3D CAD
{ "variables": { "OBJECT_NAME": "tesla Y CAR", "MODEL_VARIANT": "6th/7th gen style (thin)", "COLORWAY": "silver front + chrome back", "BACKGROUND_TONE": "smooth dark gray studio seamless", "LABEL_FONT": "minimalist sans-serif", "LABEL_RULE": "Each label must include: number + part name + material in parentheses. Short, technical, legible." }, "promptDetails": { "description": "Ultra-detailed exploded technical infographic of {OBJECT_NAME} ({MODEL_VARIANT}), shown in a 3/4 front isometric view. Photoreal 3D CAD product render. The device is partially transparent and opened; all key internal and external components are separated and floating around the main body in a clean, evenly spaced exploded-view layout with clear hierarchy and no clutter.\n\nLabeling requirement:\n- Use thin white callout leader lines and unique numbers.\n- Next to each number, write the PART NAME and MATERIAL in parentheses using {LABEL_FONT}.\n- Keep each label concise and highly legible (no tiny text). No duplicate numbers. Leader lines do not cross.\n- Label format example: \"01 Front Faceplate (Anodized Aluminum)\".\n\nExploded parts (label each with name + material):\n01 Front faceplate / bezel (Anodized Aluminum)\n02 Click Wheel ring + center button (Polycarbonate/ABS)\n03 Click Wheel flex cable (Polyimide FPC + Copper traces)\n04 Display module: LCD (Glass + Liquid Crystal)\n05 Display frame/diffuser (Polycarbonate)\n06 Midframe / structural chassis (Stainless Steel)\n07 Main logic board / PCB (FR-4 epoxy fiberglass + Copper)\n08 Shield cans / EMI covers (Nickel-plated Steel)\n09 Battery pack (Li-ion polymer pouch: Aluminum laminate + Polymer)\n10 Storage module: HDD (Aluminum/Steel housing + Glass platters)\n11 HDD bumpers/spacers (Silicone/Rubber)\n12 Headphone jack + hold switch module (Metal contacts + Polycarbonate housing)\n13 Dock connector assembly (Gold-plated Copper contacts + Plastic housing)\n14 Brackets/standoffs (Stainless Steel)\n15 Ribbon/flex cables (Polyimide FPC + Copper)\n16 Insulating films/foams (PET film + Foam)\n17 Back housing (Polished Stainless Steel)\n18 Screws (Stainless Steel)\n\nBackground: {BACKGROUND_TONE}. Lighting: soft, even high-end studio lighting with subtle reflections, crisp edges, high contrast, razor-sharp focus, 8K, clean composition.", "styleTags": [ "Exploded View", "Technical Infographic", "Photoreal 3D CAD Render", "Industrial Design Presentation", "Minimalist Labels", "Dark Studio Background" ] }, "negativePrompt": "people, hands, messy layout, crossed leader lines, duplicate label numbers, unreadable tiny text, text blur, brand logos, readable trademarks, cartoon, low-poly, watermark, distorted perspective, heavy noise, motion blur", "generationHints": { "aspectRatio": "2:3", "detailLevel": "ultra", "stylization": "low-medium", "camera": { "angle": "3/4 front isometric", "lens": "product render perspective, mild telephoto, minimal distortion" }, "lighting": "soft even studio lighting, subtle reflections, high micro-contrast", "background": "smooth dark gray seamless backdrop" } }
View Prompt
Exploded Anatomy: The Human Body
{ "variables": { "ORGANISM_NAME": "<<<user enters only the organism name>>>" }, "promptDetails": { "description": "Ultra-detailed anatomical exploded view (exploded-view) and layered biological infographic of {ORGANISM_NAME}, presented as an educational, clinical-clear scientific visual.\n\nSpecies-accuracy rule (mandatory): Automatically infer the correct anatomy for {ORGANISM_NAME}. If it is a vertebrate, show an internal skeleton (skull, spine, ribs, limb bones as applicable). If it is an invertebrate, show the appropriate exoskeleton/segments and primary support structures. Automatically choose the correct respiratory organs for {ORGANISM_NAME} (lungs, gills, tracheal system, etc.). Depict the reproductive system in a measured, educational manner (no explicit nudity).\n\nCamera and composition:\n- 3/4 front isometric angle, scientific product/anatomy render perspective.\n- Main body centered; outer body partially transparent and opened.\n- Anatomical layers and major systems are separated and floating around the main body in a clean, symmetric, hierarchical exploded layout.\n- Even spacing between layers; no clutter.\n- Callout leader lines never cross; labels stay inside the frame and remain highly legible.\n\nLayers and systems (outer to inner, species-appropriate):\n1) Outer surface: skin or exoskeleton/outer tissue.\n2) Support system: skeleton or exoskeleton/segments.\n3) Muscular system: major muscle groups and tendon attachments.\n4) Circulatory system: heart and major vessels (avoid messy capillary over-detail).\n5) Respiratory system: species-appropriate organs.\n6) Digestive system: stomach/gizzard (if applicable), intestines, liver and associated organs.\n7) Nervous system: brain or ganglia structures, primary nerve pathways.\n8) Reproductive system: species-appropriate core structures.\n9) Signature anatomy: highlight {ORGANISM_NAME}-specific distinctive structures (wings, fins, tail, horns, pouches, antennae, etc.) as separate emphasized layers.\n\nLabeling (mandatory):\n- Thin white leader lines + numbered labels.\n- Typeface: minimalist sans-serif, high legibility.\n- Label format: \"## Part Name (System)\". Example: \"03 Sternum (Skeletal)\".\n- Use 12–24 labels total; no duplicate numbers.\n\nVisual style and quality:\n- Photorealistic 3D medical/anatomy render + textbook infographic aesthetic.\n- Clinical clarity, high contrast, razor-sharp detail, 8K.\n- Clean composition, strong negative space management, educational focus.\n\nLighting and background:\n- Soft, even studio lighting; controlled reflections.\n- Background: seamless smooth dark gray or dark navy scientific studio backdrop.", "styleTags": [ "Anatomical Exploded View", "Medical/Biological Infographic", "Layered Anatomy", "Photorealistic 3D Anatomy Render", "Educational Scientific Style", "Minimalist Labels", "Dark Studio Background", "Clinical clarity", "Exploded view hierarchy" ] }, "negativePrompt": "blood, gore, horror, surgery scene, open wounds, excessive graphic content, real-person portrait, human-identity face, celebrity likeness, messy exploded layout, unnecessary extra organs/limbs, incorrect anatomy, blurry labels, unreadable text, crossed/overlapping leader lines, cartoon style, low-poly, watermark, logo, broken perspective, excessive noise, heavy motion blur", "generationTips": { "aspectRatio": "2:3", "detailLevel": "ultra", "stylization": "low-medium", "camera": { "angle": "3/4 front isometric", "lens": "scientific product/anatomy render perspective" }, "lighting": "soft, even, medical-illustration clarity", "background": "seamless smooth dark gray or dark navy", "compositionLocks": [ "no crossing leader lines", "labels legible and inside frame", "even spacing and clear hierarchy between layers" ] } }
View Prompt
Marrakech: Gateway to the World
Create a stylish 2:3 poster featuring a miniature 3D model of [MARRAKECH], showcasing its iconic landmarks bursting through a torn, horizontally laid world map. Integrate the city into the map seamlessly with realistic shadows and depth. Add a sleek white 3D text of the city name that blends naturally into the scene. Use dramatic camera perspective, crisp lighting, and a premium travel-poster aesthetic
View Prompt
Miniature Paris: World View
Create a stylish 2:3 poster featuring a miniature 3D model of [Paris], showcasing its iconic landmarks bursting through a torn, horizontally laid world map. Integrate the city into the map seamlessly with realistic shadows and depth. Add a sleek white 3D text of the city name that blends naturally into the scene. Use dramatic camera perspective, crisp lighting, and a premium travel-poster aesthetic
View Prompt